Today is my older daughter’s birthday. In anticipation of this day, I decided to create a brand new card just for her. Searching for inspiration, I turned to my husband for ideas. He immediately said, “Chocolate. Icing. Candle. Cupcake.”
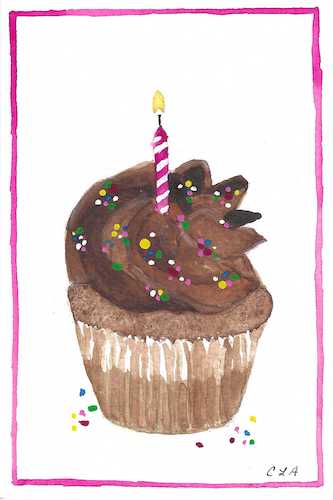
And thus, the birthday cupcake series began. I sketched my initial design, then used masking fluid to protect the white areas around the top of the cupcake wrapper. I used raw umber to paint in between those masked areas to create the illusion of ridges. More raw umber mixed with burnt umber became the base of the cupcake, with darker burnt umber painted at the very top of the wrapper. I used multiple applications of burnt umber blotted with paper towels to produce the top of the cake surface, relying upon the rough surface of the towel to create an impression of crumbs.
The icing presented its own set of challenges. The colors would be similar to the cake (it was, after all, still chocolate) but the texture needed to be quite different. I applied successive layers of very liquid paint in ribbons on top of the cupcake, alternating between light and dark shades of brown. I then used Chinese White in strategic locations on the ridges of the icing to enhance contrast and mimic the effect of light.
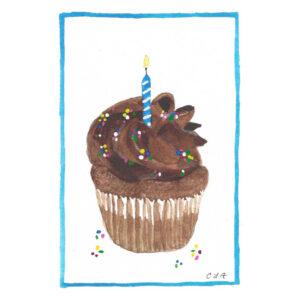
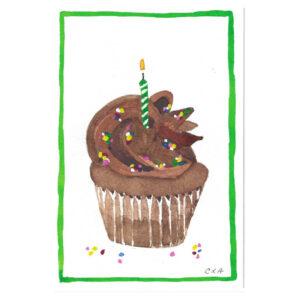
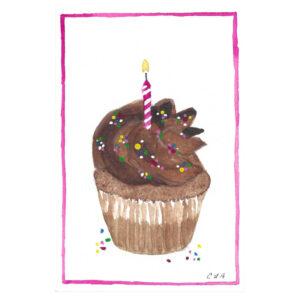
The flame on the candle was easy: a simple application of cadmium yellow hue. The candle itself? That required a change of materials, as watercolor paints are too translucent to capture the saturated color of a wax candle. I pulled out my 5 color gouache set and found exactly what I was looking for in the box. I painted the candle for Cate’s cupcake in magenta straight from the tube and used the yellow, cyan, and white to paint sprinkles on the top of the icing and around the base of the cupcake. I mixed up some green for added interest and dropped those sprinkles on top as well. I used white gouache to paint diagonal lines on the candle, and then finished the design with a magenta border. I signed my initials and thought I was done…
…until I wasn’t. I liked the cupcake with the pink candle so much that I just had to keep going. I went back through all the steps from start to finish for six more designs, ultimately deciding to keep versions with a blue, green, and yellow candle in addition to my original pink. I ended up spending multiple hours on this project and I couldn’t have been happier.
These four cards are now part of the “Special Occasion” category on the website. Buy a bundle of these to have on hand for everyone on your birthday list as they work for all ages and leave lots of room for writing your personalized message inside. Better still, the card will last much longer than a cupcake would — especially at my house, where chocolate is consumed immediately.
Happy, happy birthday to you!